Usa el código DOCOS10 para un 10% de descuento en tu primer pedido Compra Ahora

Envío Gratuito en Todos los Pedidos Compra Ahora

DEVOLUCIONES EN 30 DÍAS | CERTIFICADO ETL | SOPORTE 24/7

Ceiling fan wobbling? Here's how to fix it.

A step-by-step guide to diagnose and fix the most common causes of ceiling fan wobble, noise, and vibration. Pick the symptom that matches yours to jump straight to the fix.

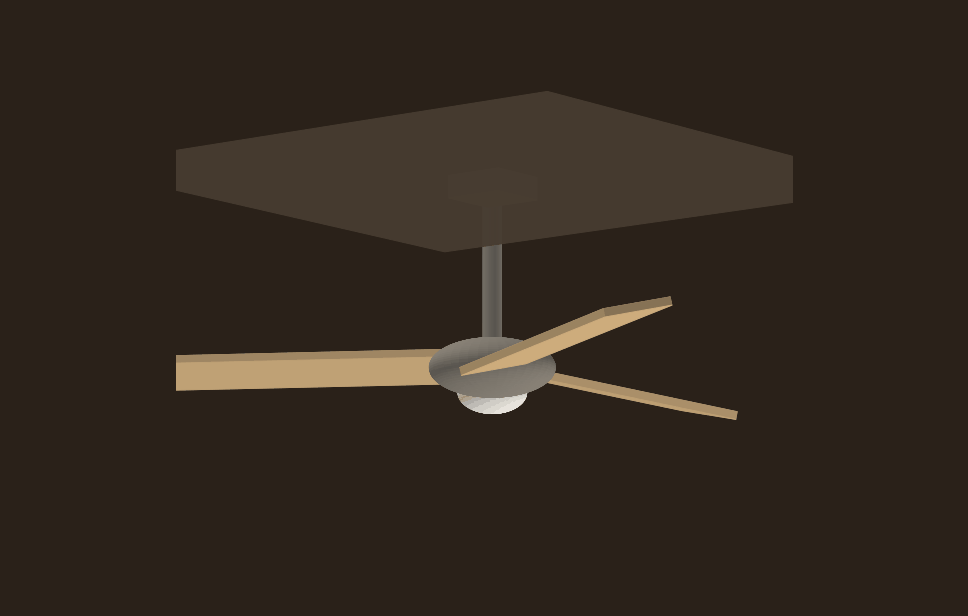
Three-blade wooden ceiling fan

Before you start

  • Turn off the circuit breaker. Do not rely on the light switch alone.
  • Never use a power drill on the fan motor. Use a manual screwdriver only.
  • Solid wood blades are soft. Over-tightening strips the screw holes.
  • Always use a stable ladder. Ceiling fan work is overhead work.
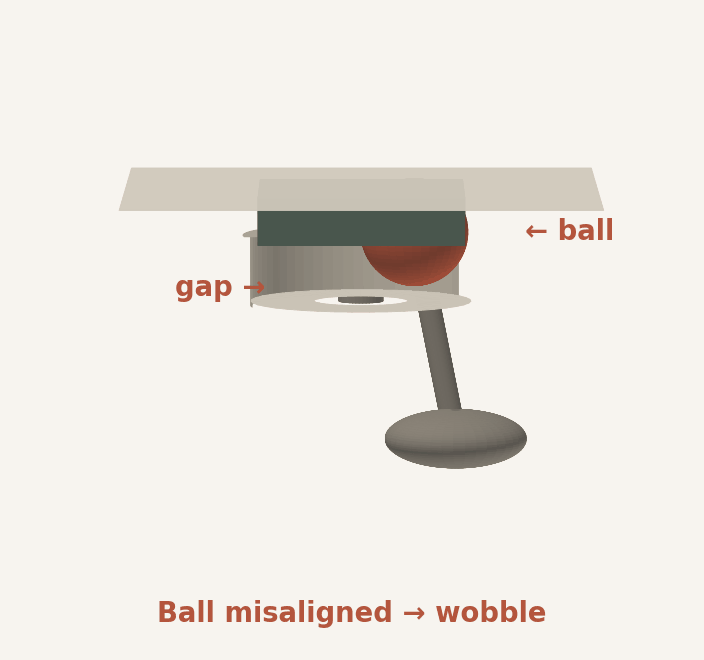
WrongHanging ball resting off-center on the bracket ridge
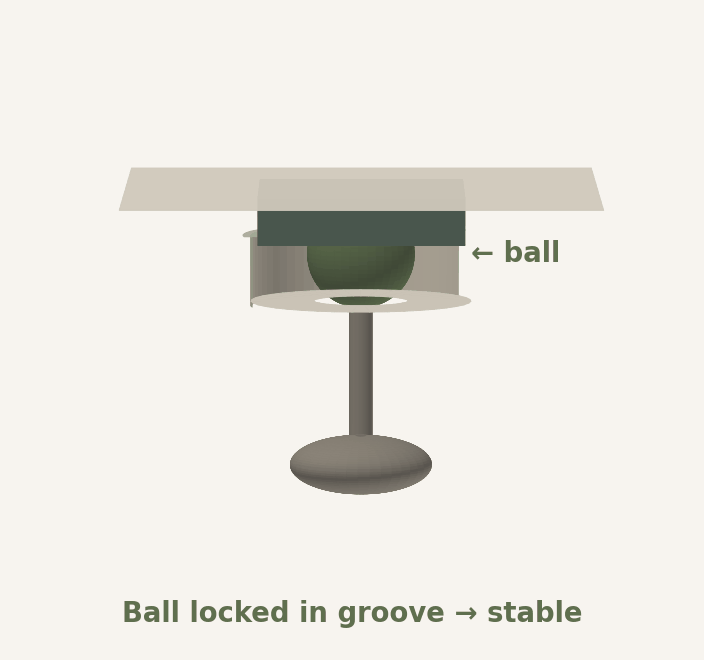
CorrectHanging ball seated in the bracket groove
Issue 1

Mounting ball not seated in the bracket groove

SymptomYou hear a rhythmic clicking or clacking sound, and the fan wobbles noticeably at all speeds.
CauseThe hanging ball on the downrod did not lock into the groove on the ceiling bracket. The fan swings freely instead of pivoting from a fixed point.
How to fixTurn off power. Remove the canopy cover. Lift the fan slightly and re-seat the hanging ball so the groove on the ball clicks into the raised ridge on the bracket. You should feel it lock in place. Replace the canopy.
This is the single most common cause of wobble on a newly installed fan. If the fan makes a "clack-clack" noise, check this first. It takes under five minutes.
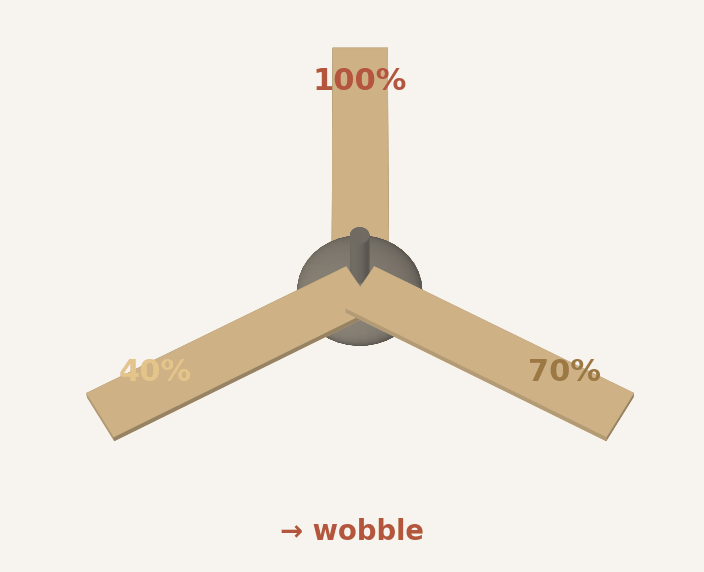
Blade screws tightened unevenly: 100%, 40%, 70%
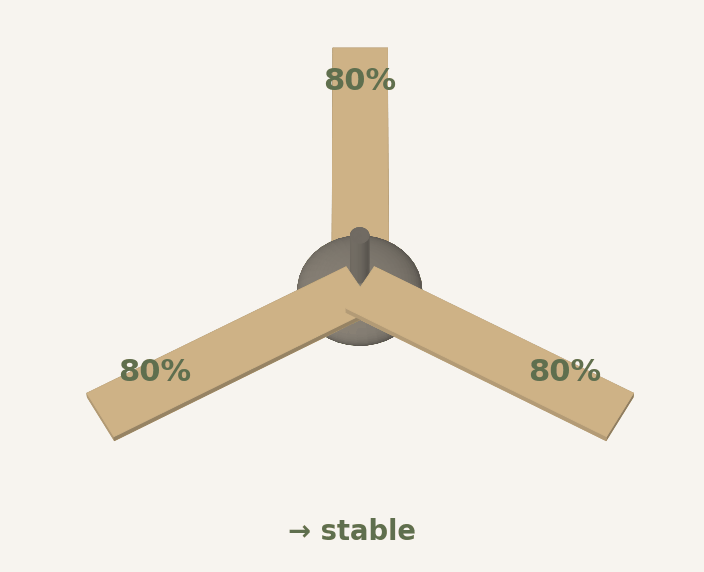
Blade screws tightened evenly to 80%
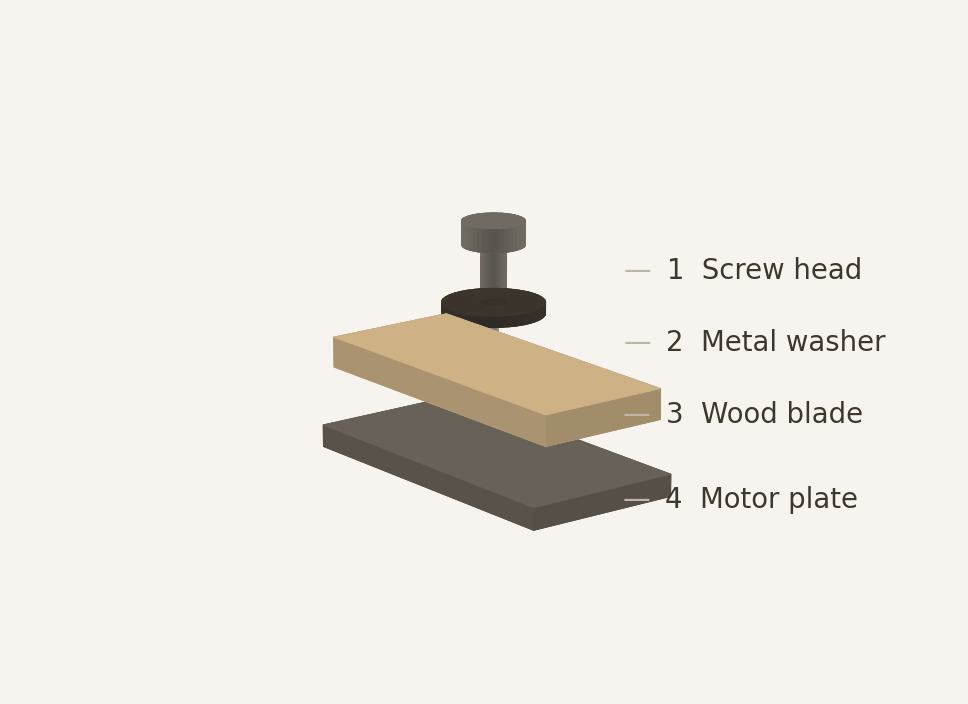
Exploded view: screw head, metal washer, wood blade, motor plate
Tighten all screws to 80% first, then go back and tighten to 100% evenly. Washer groove faces down.
Issue 2

Fan blade screws not tightened evenly

SymptomMild to moderate wobble, sometimes with a slight vibration hum. The fan may feel "loose" when touched.
CauseOne or more blade-to-motor screws are tighter than the others, pulling that blade closer and throwing off the balance.

Proper screw technique is essential with wooden-blade ceiling fans:

  1. Install the motor housing on the ceiling first. Do not attach the blades on the ground and then lift. Doing so risks bumping and bending the blade brackets.
  2. Attach each blade one at a time on the ladder. Install in a cross pattern (opposite blades first) for balanced weight distribution.
  3. Tighten each blade's screws to about 80% first. Do not fully tighten any single blade yet.
  4. Once all blades are mounted, go back and tighten every screw to full, using equal hand force.
  5. Use a manual screwdriver only. Never use a power drill; it strips the soft wood threads.
Always use the metal washers (shims) included in the hardware kit. Place them with the groove facing downward. They protect the soft wood and prevent cracking.
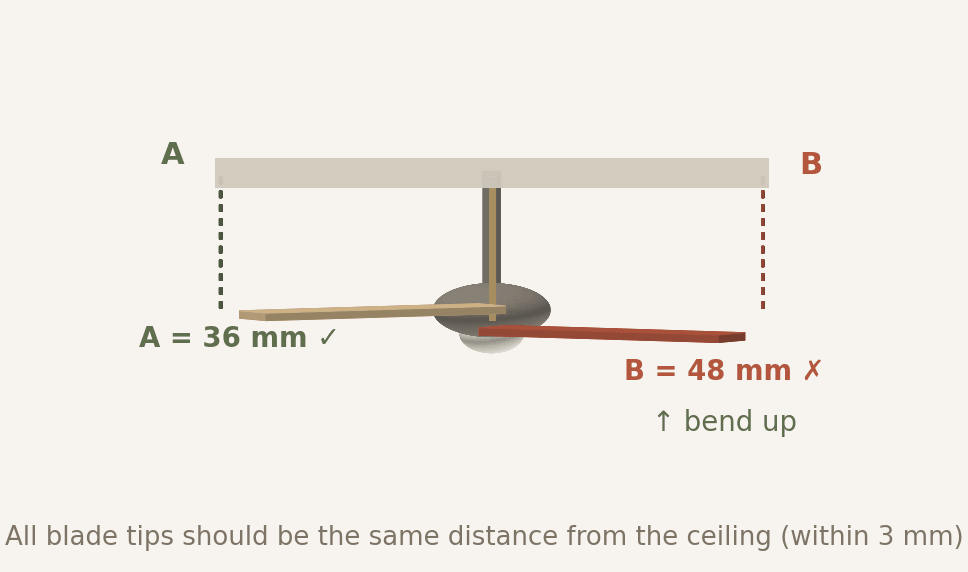
Measuring each blade tip from the ceiling with a ruler
Issue 3

Warped or bent fan blades

SymptomWobble persists even after re-tightening all screws. One blade may visually sit higher or lower than the others.
CauseA blade or bracket was bent during shipping or installation. Even a 2° angle difference causes noticeable wobble.

The fix depends on your blade material:

Metal blade brackets

You can gently bend them back by hand. Hold near the motor mount and carefully adjust the angle until all blades sit at the same height.

Solid wood blades

Wood cannot be safely bent back. If a wooden blade is warped, it must be replaced. Contact our support team for a free replacement.
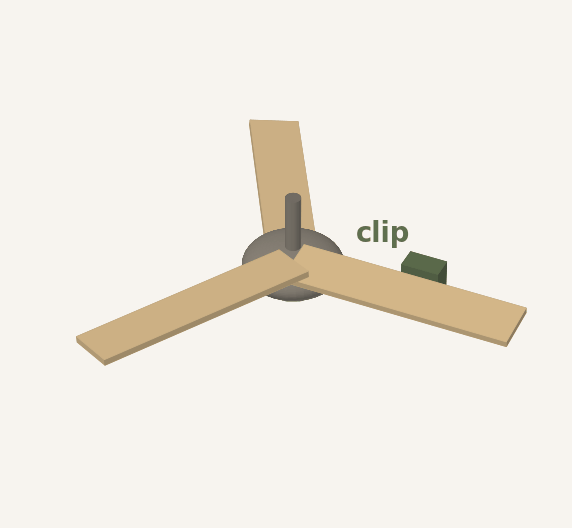
Balancing clip on a blade
1 · Clip testClip on each blade, test which reduces wobble
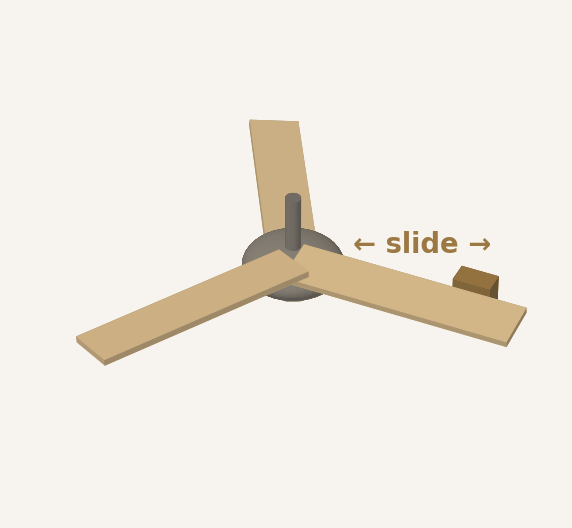
Sliding the clip along the blade
2 · Find positionSlide the clip along the blade to find the sweet spot
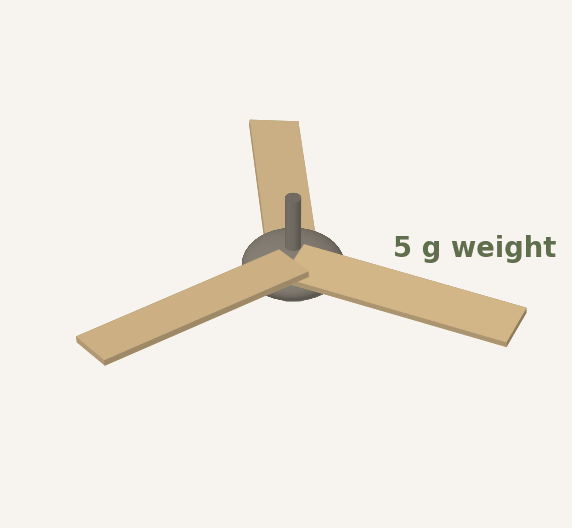
Adhesive weight stuck on top of the blade
3 · Stick weightPeel the adhesive weight, stick it on top of the blade
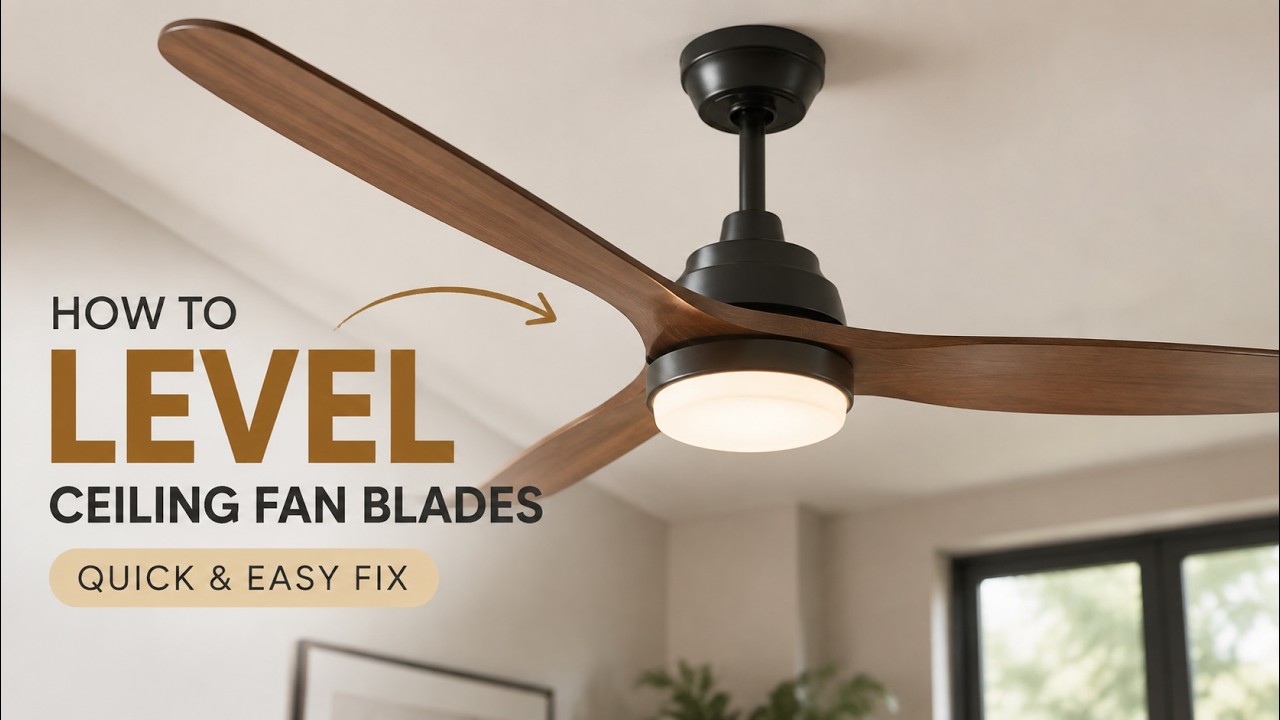
How to Level Ceiling Fan Blades | Quick Fix for Wobbling Watch on YouTube · How to Level Ceiling Fan Blades
Issue 4

Balance issue: use the balancing kit

SymptomYou've checked issues 1–3, everything looks correct, but the fan still wobbles, especially at higher speeds.
CauseTiny weight differences between blades create an imbalance that amplifies at speed, like a washing machine with uneven laundry.

Your fan comes with a balancing kit (a clip and adhesive weight strips). This works on the same principle as balancing a car tire.

  1. Clip test: Attach the balancing clip to the trailing edge of one blade, midway along its length. Turn the fan on medium speed and observe whether the wobble gets better, worse, or stays the same.
  2. Find the right blade: If the wobble got worse, move the clip to the next blade. Repeat for each. You're looking for the blade where the clip reduces wobble the most.
  3. Fine-tune position: Slide the clip closer to the tip, then closer to the motor, testing each time. Find the sweet spot.
  4. Apply the weight: Mark the position. Remove the clip. Stick one adhesive balance weight on the top surface of the blade (invisible from below).
  5. Test again. If some wobble remains, add a second weight. Each strip is about 5 g; trim with scissors for precision.
Think of it like a seesaw: you're adding small weights until both sides are equal. Most fans balance perfectly in 10–15 minutes.
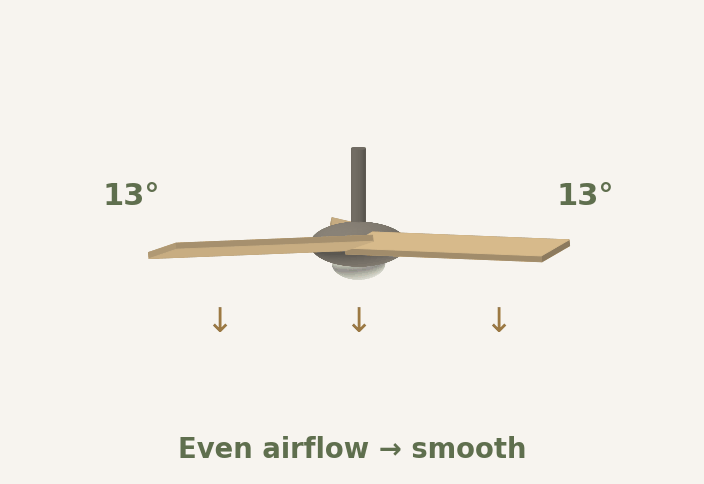
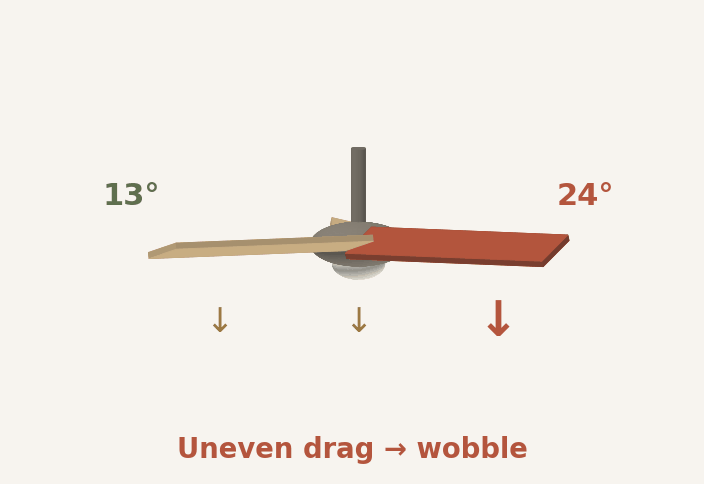
All same angleAll three blades at 13 degrees
One blade offOne blade bent to 24 degrees
Issue 5

Blade angle (pitch) inconsistency

SymptomWobble combined with uneven airflow: more breeze under one blade than the others.
CauseEach bracket should be about 13°. If one was bent to 15–18° during handling, it pushes more air and creates drag on one side.

The yardstick method: Hold a straight edge from the ceiling downward. Rotate each blade to the same position and measure the high edge and low edge of each blade tip. All should match. Gently bend any off-angle bracket.

The swap test: Swap two adjacent blades' positions. If the wobble follows the blade, that blade or bracket is the problem. If it stays, re-check the motor mount screws.

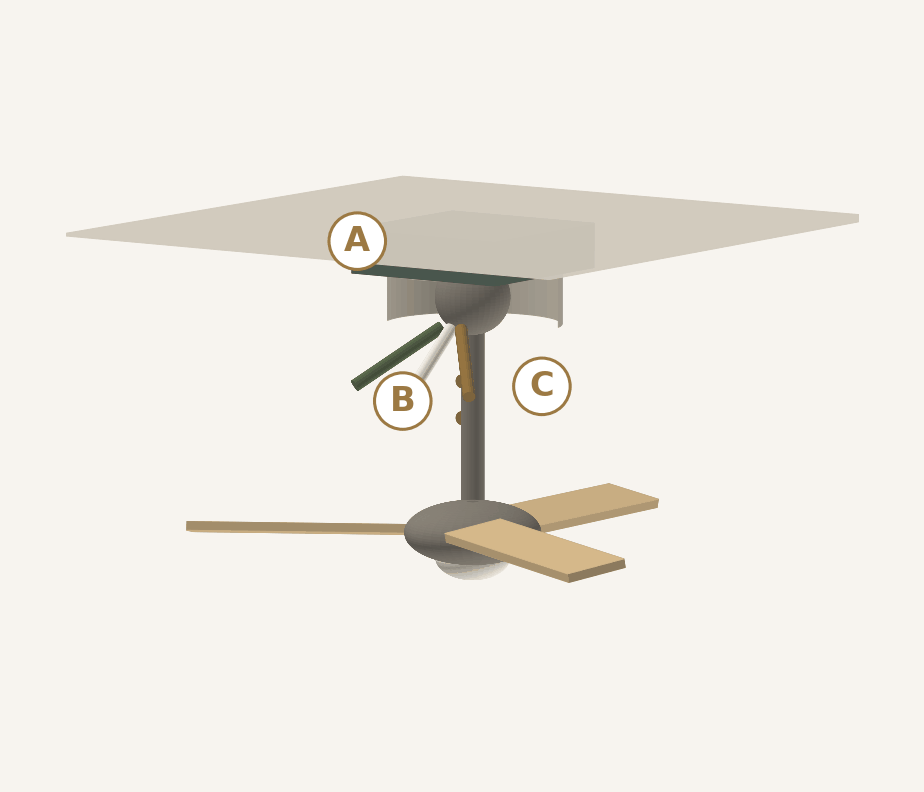
Fan assembly with connection points A, B and C marked
A Junction box: fan-rated, 50+ lbs  ·  B Downrod screws + safety pin: tight  ·  C Wires: match colors exactly
Issue 6

Downrod or wiring connection loose

SymptomThe entire fan unit sways or feels loose from the ceiling. The canopy cover may vibrate.
CauseThe downrod-to-motor screws are loose, or the ceiling bracket isn't secured to a fan-rated junction box.
  1. Check that the downrod-to-motor screws (usually 2 screws plus a safety pin) are fully tightened.
  2. Verify the ceiling bracket is secured to a fan-rated junction box (labeled "For Fan Support", UL/CUL, 50+ lbs).
  3. If installed on a plastic or lightweight box, replace it with a fan-rated metal box.
  4. If the canopy feels loose, gently pry the groove on the canopy base inward or outward to adjust the fit.
When reconnecting wires, match colors exactly. Connecting the wrong wires can damage the motor or driver permanently.

Quick troubleshooting checklist

Run through this list top to bottom. Most wobble issues are solved by the first three items.

0 of 10 checked

This guide applies to all Docos ceiling fan light models. Specific steps may vary slightly depending on your fan type; refer to the instruction manual included with your product.

Still wobbling?

If you've worked through every step above and the fan still wobbles significantly, reach out. We're here to help with replacements, parts, or further troubleshooting.